Magic Ring Photo Tutorial
This might look daunting at first - I've broken it down bit by bit to help you get to grips with it - in reality, once you've got the technique, it'll be one fluid movement that takes a couple of seconds and that you'll soon be doing without even thinking about it!
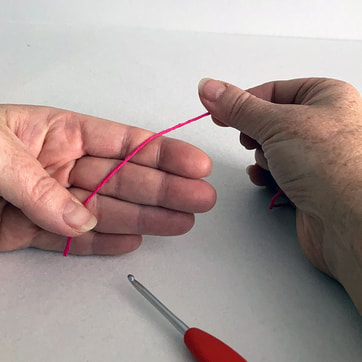
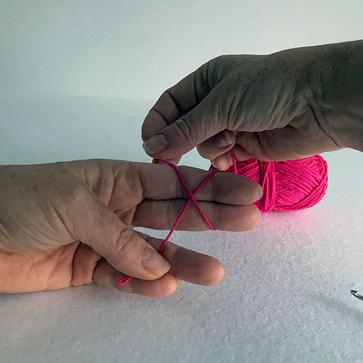
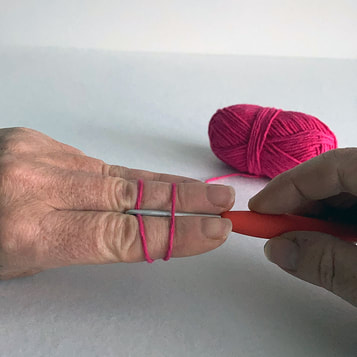
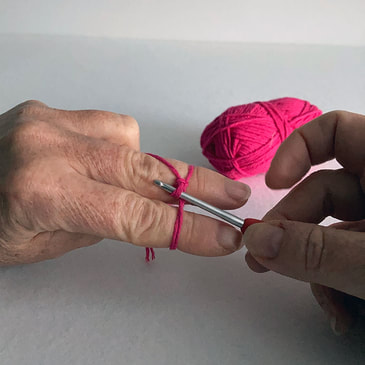
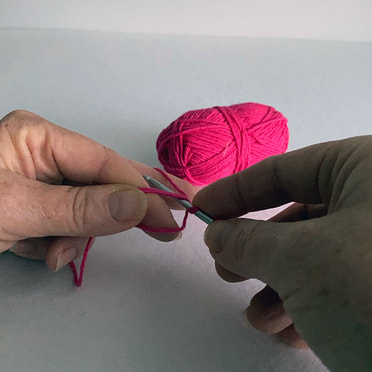
Step 1: Lay the yarn tail diagonally across the first three fingers of your left hand, holding the end of the tail in place with your left thumb and the working yarn between the thumb and first finger of your right hand - Fig 1 below. Have the hook handy on the table by you.
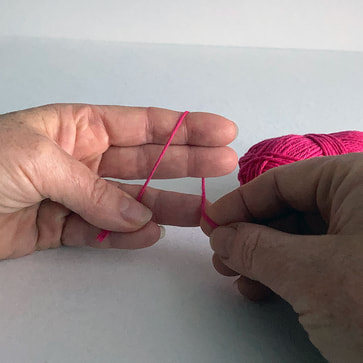
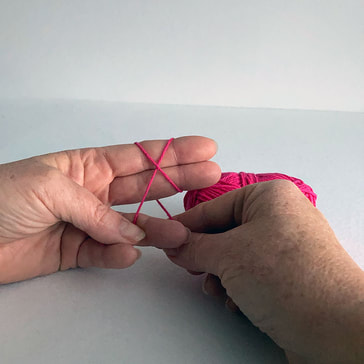
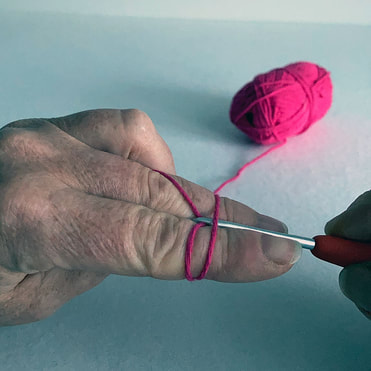
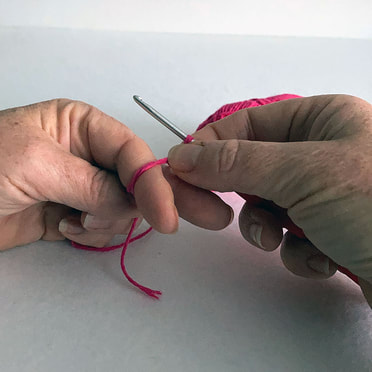
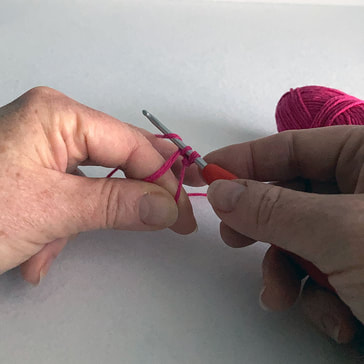
Step 2: Wrap the working end of the yarn over and behind the first two fingers of your left hand - still holding the yarn tail in place with your left thumb. See Fig 2 above.
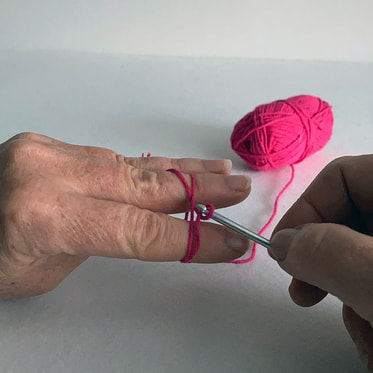
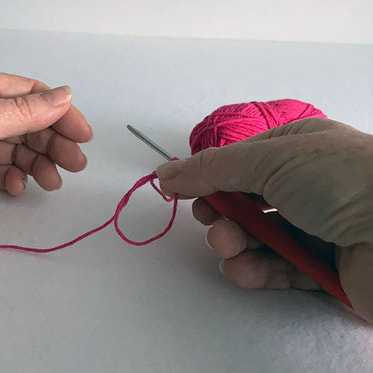
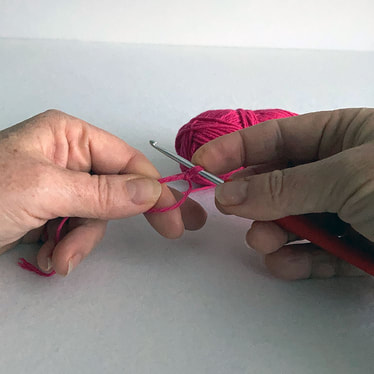
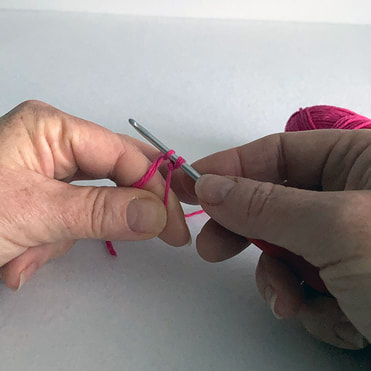
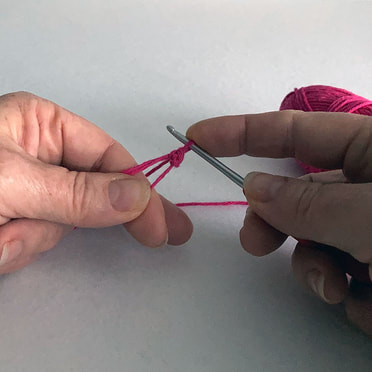
Step 3: Bring the working end of the yarn up across the two fingers to create an X and carry it behind the fingers. See Fig 3 & 4 above.
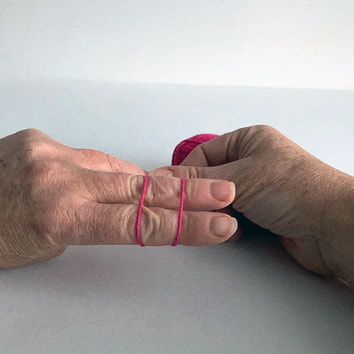
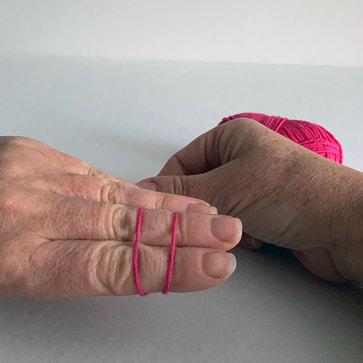
Step 4: Still holding onto both yarn ends, turn you fingers over and you will see you now have two parallel strands of yarn sitting vertically across the back of your fingers - it doesn’t matter if they’re not perfectly parallel. See Fig 5 above.
Bring the third finger of your left hand in close to the second finger gripping the top of the working yarn between the two fingers. See Fig 6 above. You can now let go of the yarn in your right hand but still keep holding the end of the yarn tail in place with your left thumb.
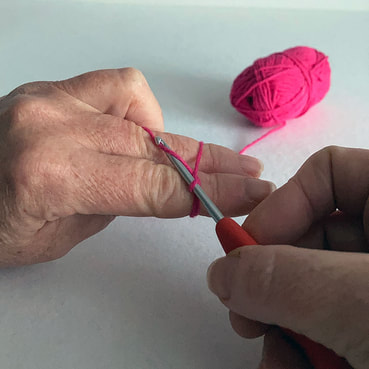
Step 5: Pick up your crochet hook, with the hooked end facing downwards and slide it under the right yarn strand following the line where your first and second fingers are touching. Hook it over the left yarn strand. See Fig 7 above.
Step 6: Pull the left yarn strand under the right yarn strand down the side of the fingers. See Fig 8 above. As soon as the end of the hook comes out from under the right yarn strand turn the hook over so the hook end is facing upwards to create a twist in the yarn. See Fig 9 above.
Step 7: Take the hook back over the right yarn strand and hook it under the top half of the left yarn strand - See Fig 10 above. Pull it back through the loop that’s already on the hook, creating a slip stitch. See Fig 11 above.
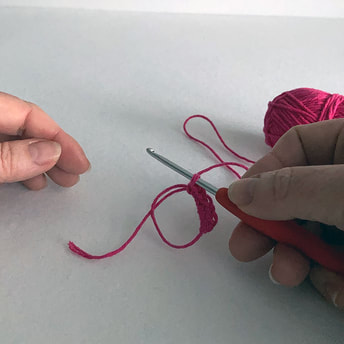
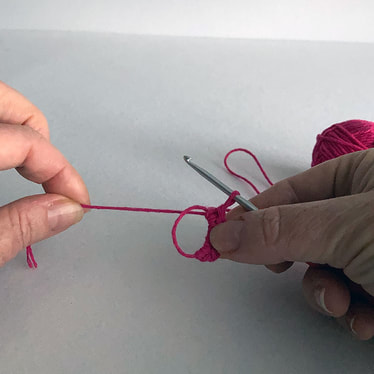
Step 8: Grab hold of the slip stitch you’ve just made with the thumb and first finger of your right hand. See Fig 12 above. Keep holding the slip stitch while you gently slide the fingers of your left hand out from the loop of yarn - you will end up with a ring of yarn held in your right hand with the yarn tail emerging to the left of your thumb and first finger. See Fig 13 above.
Step 9: Wrap the working yarn round the fingers of your left hand to tension it (however you usually hold it to crochet) and use the thumb and first finger of your left hand to hold the yarn tail and the ring taught in readiness for working the first stitch of the first round of your pattern. See Fig 14 above.
Usually for amigurumi you will be working rounds of UK double crochet (if you are using a US Pattern it will say “sc” for single crochet - they are the same stitch).
Step 10: To make the first dc (US: sc), work into the ring, taking your hook under BOTH the top part of the yarn ring and the yarn tail. See Fig 15 above. Wrap the yarn round the hook (yrh) and pull the hook back under the two strands of yarn, bringing it back out of the ring - you will now have two loops on the hook. See Fig 16 above.Yarn round hook again - See Fig 17 above and pull through both loops on the hook to complete your first dc (US: sc). See Fig 18 above.
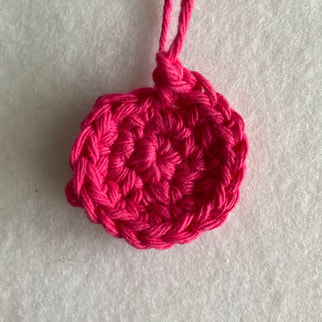
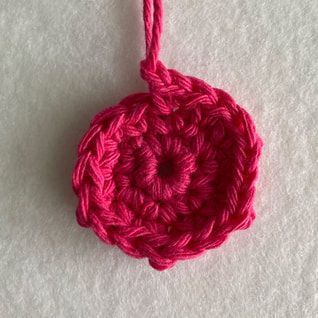
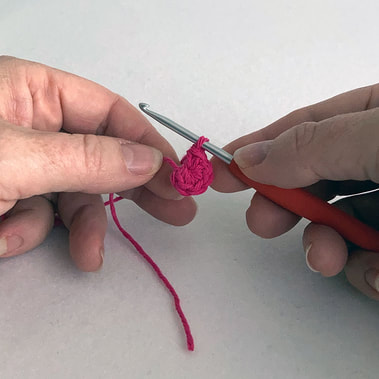
Step 11: Repeat Step 10 as many times as needed to create the number of dc indicated in the first rnd of your pattern - my photo shows a first round of 6 dc in total. See Fig 19 above.
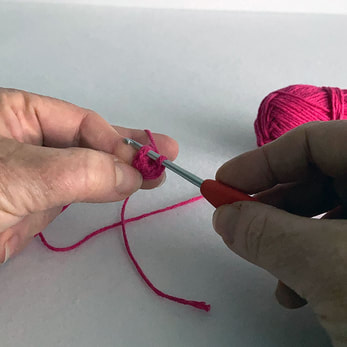
Step 12: Pulling the yarn tail will cause the ring to become smaller - See Fig 20 above. Keep pulling until the ring closes up completely. See Fig 21 above- congratulations, you’ve made your first magic ring!
Amigurumi are mostly made using continuous rounds - in a spiral, Start your second round by working into the first dc of Round One - See Fig 22 above.

