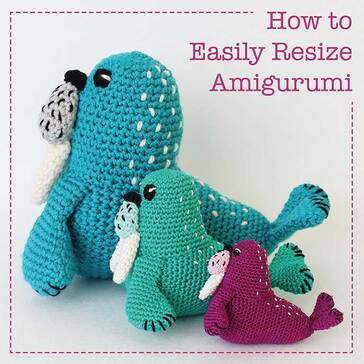
How to Hide Amigurumi Yarn Tails Securely
A guide to fastening off crochet yarn ends like a pro!
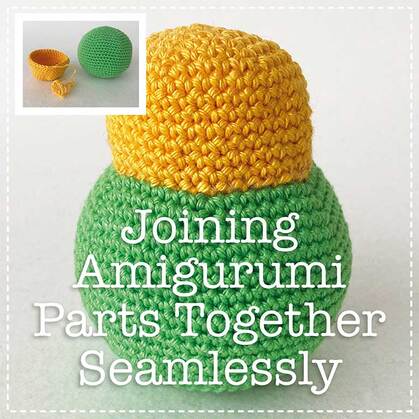
Do you know how to secure a yarn tail once you've joined Amigurumi Body Parts? Do you worry your joining seams may come undone?
This is another little detail that makes a big difference to the finish of your creation.
This photo tutorial shows you a neat technique to ensure your yarn tails are hidden and secure inside your Amigurumi crochet.
Let me show you step by step what to do.
This is another little detail that makes a big difference to the finish of your creation.
This photo tutorial shows you a neat technique to ensure your yarn tails are hidden and secure inside your Amigurumi crochet.
Let me show you step by step what to do.

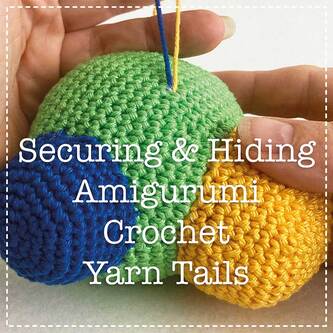
Fig 1 - Pair up your yarn tails
The trick is to pair up yarn tails from different body parts that you've attached.
When you've finished attaching a body part, insert the needle into your work and bring it out through a hole between stitches away from the join.
When you attach the next piece, do the same and bring the yarn tail for that piece out of the same hole as the first yarn tail as shown in Fig 1.
The most important thing to remember is that you need to bring BOTH yarn tails out of the piece through EXACTLY the same hole. If they're not in the same space, or you split the yarn of the main part as you bring the needle out, the technique won't work.

Fig 2- knot the ends together
|

Fig 3 - snuggle the knot up to the main piece
|
Once you've got both ends coming out of the same spot, knot them together (Fig 2), pulling the ends tight so that the knot is sitting snuggly against the hole the tails are coming out of. (Fig 3)
A single knot usually works fine but if you want to make extra sure it's secure, do a double knot.
A single knot usually works fine but if you want to make extra sure it's secure, do a double knot.

Fig 4 - snip those ends off!
|

Fig 5 - leave two short tufts
|
Next, snip off the excess yarn on both of the tails about 1 cm away from the knot (Fig 4). The remaining short tufts should ensure your knot doesn't work itself loose. (Fig 5).

Fig 6
|

Fig 7
|
Now you need to visualise where the piece of yarn that runs from each of the two sewn on amigurumi parts to the knot is sitting inside the main piece. Mine are shown by the dotted lines in Fig 6.
Insert the wrong end of a yarn needle into the main piece close to the path of one of the lengths of yarn running under the surface.
Swivel the end of the yarn needle so that it catches the bit of the yarn tail that's concealed inside the piece - in Fig 7 I'm swivelling it anti-clockwise. This will start to drag the knot through the hole, inside the work. Keep wiggling the end of the yarn needle round in the work until the whole of the knot and the short ends have completely disappeared inside the piece (Fig 8).

Fig 8
Repeat the process for all the remaining yarn tails. If you get to the point where you have an odd number of yarn tails left,it's ok to bring three out in the same place rather than two - knot all three together and pull them into the work in the same way.