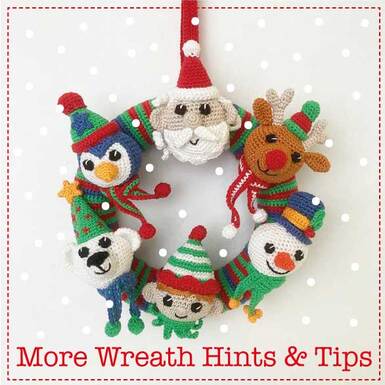
Crochet Christmas Wreath
How to Join the Reindeer's Antlers

A quick tutorial on how to crochet the tops of the Reindeer's Antlers together.
Here's a recap of the pattern for making the parts of the Antler:
Here's a recap of the pattern for making the parts of the Antler:
Reindeer's Antlers - make 2
Each is made as two separate parts - Part A and Part B - from the top down and then joined together to make an antler. Do not stuff.
Part A
Rnd 1: With COL C, working into a magic ring, 6 dc. 6 sts
Rnds 2-4: Dc around.
Fasten off.
Part B
Work as Part A but do not fasten off at the end of Rnd 4. Continue on to Rnd 5 below to join the two parts together.
Rnd 5: 3 dc in Part B, then, starting in next unused stitch after last stitch of Rnd 4 on Part A, 6 dc, then, starting in next unused stitch on Part B, 3 dc. 12 sts.
Don't worry if there's a hole where the two parts join - this is normal and can be sewn closed using a length of COL C and a yarn needle once the antler is finished.
Rnd 6: 6 dc2tog. 6 sts
Rnds 7-10: Dc around.
Fasten off. Leave a long yarn tail to sew the Antler to the top of the Head once you've made all the parts.
UK and US crochet terms are NOT the same - this is written in UK terms. If you're used to working in US crochet terms - substitute "sc" for "dc" in the pattern above.
Let's break that down step by step...

Crochet Antler - Fig 1
Before we begin... You'll be making all the parts of your Antler in a Beige yarn or something similar - I've made the tops of my Antler for this tutorial in 2 different colours so help you see which part I'm working into. Let's call the fastened off Red one Part A and the Green one - which is still attached to the ball of yarn - Part B. On both I've tucked the starting tail down inside the Antler out of the way. These are the parts you'll have just before you start Rnd 5.

Crochet Antler - Fig 2
The Blue thread in Fig 2 above is a stitch marker, showing the end of Rnd 4. The first instruction in Rnd 5 is "3 dc in Part B" so work those 3 UK dc (US sc) in Part B (Green) as if you were doing another ordinary round.
|

Crochet Antler - Fig 3
Next, pick up Part A (Red) and insert the hook into the next stitch after the last stitch of Part A's Rnd 4 - Fig 3.
|

Crochet Antler- Fig 4
Work a UK dc (US sc) into that stitch - Fig 4.
|

Crochet Antler - Fig 5
Carry on working 1 UK dc (US sc) in each stitch around the top of Part A (Red) - in Fig 5 above, I have worked the first 3 stitches and have another 3 to do - making a total of 6 stitches in the top of Part A.
|

Crochet Antler- Fig 6
Next you're going to work into the top of Part B (Green) again - insert the crochet hook into the next unused stitch on Part B - Fig 6.
|

Crochet Antler - Fig 7
Work a UK dc (US sc) into that stitch - Fig 7.
|

Crochet Antler - Fig 8
Carry on with another UK dc (US sc) in each of the next two stitches to finish Rnd 5. You will have worked 3 stitches in Part B, followed by 6 stitches in Part A and another 3 stitches in Part B making a total of 12 stitches for Rnd 5 - Fig 8.
|

Crochet Antler - Fig 9
For the next round, Rnd 6, you need to work 6 decreases - that's 6 dc2tog (or 6 sc2tog in US terms). In Fig 9 above I've worked the first two decreases of Rnd 6.
|

Crochet Antler - Fig 10
At the end of Rnd 6 you'll be left with 6 stitches, you then dc around (US sc) for another four rounds (Rnds 7-10), creating the bottom part of the Antler. Fasten off at the end of Rnd 10 - Fig 10.
|

Crochet Antler - Fig 10
Fig 10 is looking down on the top of the Antler. Don't worry if there's a hole where the two parts join - this can happen, depending on your natural tension, it can easily be sewn closed with a length of the Antler yarn and a yarn needle.
|