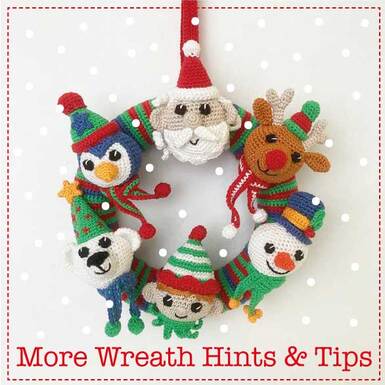
Crochet Christmas Wreath - How to Embroider "Twinkle"
Decoration on the Polar Bear's Hat

The "Twinkle" decoration on the Polar Bear's Christmas Tree Hat is a lovely finishing touch and they're easy to do once you know how!
They're made up of 6 stitches each and it's important to remember to work from the outside of the Twinkle into the centre each time as this gives you the neatest finish - the pictures below show you how.
For the tutorial below I've just got the hat on its own. When you make the Polar Bear, it's much easier to embroider the Twinkles after you've sewn the stuffed hat to the top of the Polar Bear's head.

Fig 1
Insert the threaded yarn needle into the hat - making sure that you insert it through a defined hole between stitches and not splitting the hat yarn by pushing it into part of a stitch. This is important for when you fasten the yarn off later. Bring it back out again where you want the first twinkle to be, making sure that it comes out in one of the holes between the top of one round and the bottom of the next - Fig 1.
|

Fig 2
Leave a yarn tail about 7.5-10cm (3-4in) long like the one to the right in Fig 2 - you'll need this later.
|
 Fig 3 Fig 3
Following the line of the rounds, (this makes it easier for all the points of the twinkle to be evenly spaced), re-insert the yarn needle into the Hat one stitch along from where you brought it out in Fig 1, as shown in Fig 3.
|

Fig 4
Pull the yarn up to tighten and complete the first stitch - you can see it in Fig 4 - then bring the yarn needle back out again, as before, one stitch along, still following the line of that round.
|

Fig 5
Pull the yarn through. You now have one completed stitch and the yarn is coming out of the Hat on the outside tip of what will be the second stitch. - Fig 5.
|

Fig 6
Insert the yarn needle back into the Hat at the closest end of the first completed stitch and bring it out one round across, and up slightly - as shown in Fig 6. Where you have just inserted the needle is now the centre of the twinkle - from now on, each time you insert the needle into the hat from the front, it will be into that same place.
|

Fig 7
Pull the yarn tail to tighten up the second stitch - you will now have two stitches sitting in a straight line between two rounds - Fig 7.
|

Fig 8
Re-insert the yarn needle into the centre point where the first two stitches touch and bring it out one round over and one stitch down from the outer tip of the third stitch - Fig 8.
|

Fig 9
You now have three complete stitches and where the yarn is coming out of the hat is the start of the fourth one. Pull the yarn up to tighten the third stitch - Fig 9.
|

Fig 10
To work the other side of the twinkle I found it easiest to turn the whole hat round. Once again, reinsert the yarn needle into the centre of the twinkle and bring it back out on the other side of the first two stitches, one round over and down so that it's diagonally opposite the third stitch. Fig 10.
|

Fig 11
Pull the yarn through to tighten up the fourth stitch - Fig 11.
|

Fig 12
Re-insert the yarn needle through the centre of the twinkle and bring it out one round over and one stitch up from the outer tip of what will be the fifth stitch - Fig 12.
|

Fig 13
Pull the yarn up to tighten up the fifth stitch - Fig 13.
|

Fig 14
Re-insert the yarn needle into the centre of the twinkle for the last time to create the sixth stitch and complete the twinkle and then bring the yarn needle out again somewhere else on the hat, where you want to make the next twinkle - Fig 14.
|

Fig 15
The first twinkle is now complete. Repeat all the steps above to make the next one at the spot where you've brought the yarn out of the hat - Fig 15.
|

Fig 16
Once you have finished all the twinkles, (or if you've used up the first piece of yarn and need to start on another bit), you need to fasten off the ends. Complete the last twinkle and then bring the yarn needle out through EXACTLY the same hole that the yarn was inserted into the hat at the beginning. Be sure not to split the hat yarn in the process - both the starting tail and the working yarn must be sitting in the same hole. - Fig 16
|
To Finish:
To conceal the yarn tails, tie them in a double knot sitting close to the hat. Trim off the excess and insert the blunt end of an unthreaded yarn needle into the Hat, next to where the yarn tails come out. Wiggling the end of the yarn needle will pull the knot inside the hat - keep wiggling until it has completely disappeared. You can find a photo tutorial showing this technique HERE.